Hardly you would find any bathrooms without health faucets these days. And these faucets do require regular service for maintenance. if you don’t maintain them well then water leakage or spray nozzle blockage or other issues starts to creep in. Let’s look into what does it take to do the servicing of a health faucet. The good news is that these health faucets are usually very durable and contains only mechanical parts which can be serviced at home with a bit of basic know-how. Obviously, most of us resort to replacing the health faucet if a leakage or spray problem is seen but as I said before you could salvage the exiting faucet if you do a basic service. There are multiple different brands of health faucets in the market which differ in their make & model. However, the basic operating principle for all of them is similar. For the purpose of this blog, I have considered the health faucet from “American Standard” which I do like because of the comfort and softness of its wafer spray. Before I get into servicing it, this health faucet from American Standard costs around ₹1.2K and I purchased it from here.
Items needed:
- Cutting plier or a Wrench
- Pair of gloves
- Micro-fibre cloth
- Sewing needle or a safety pin
Let’s get started:
- The firs step is to protect your hands with a pair of gloves and detach the faucet from the hose. Once detached, you could use the cutting plier or the wrench to remove the threaded front cap. If you are worried that this operation would leave scratches on your faucet then you could use the micro-fibre cloth as a cushion between the cap and the wrench. Now try rotating the cap counter clock-wise which should unscrew the cap
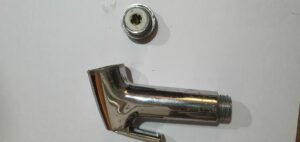
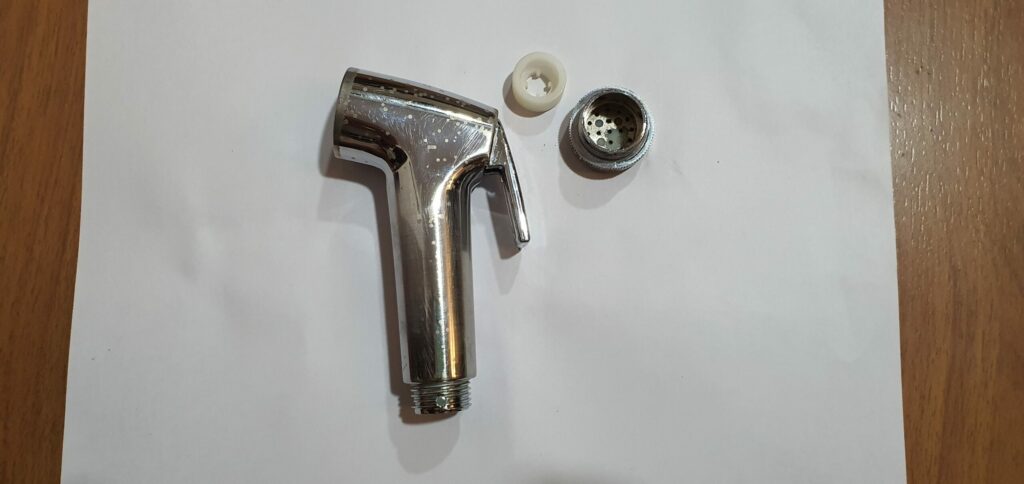
Health Faucet with cap removed

Health Faucet with cap removed (Nozzle facing up)
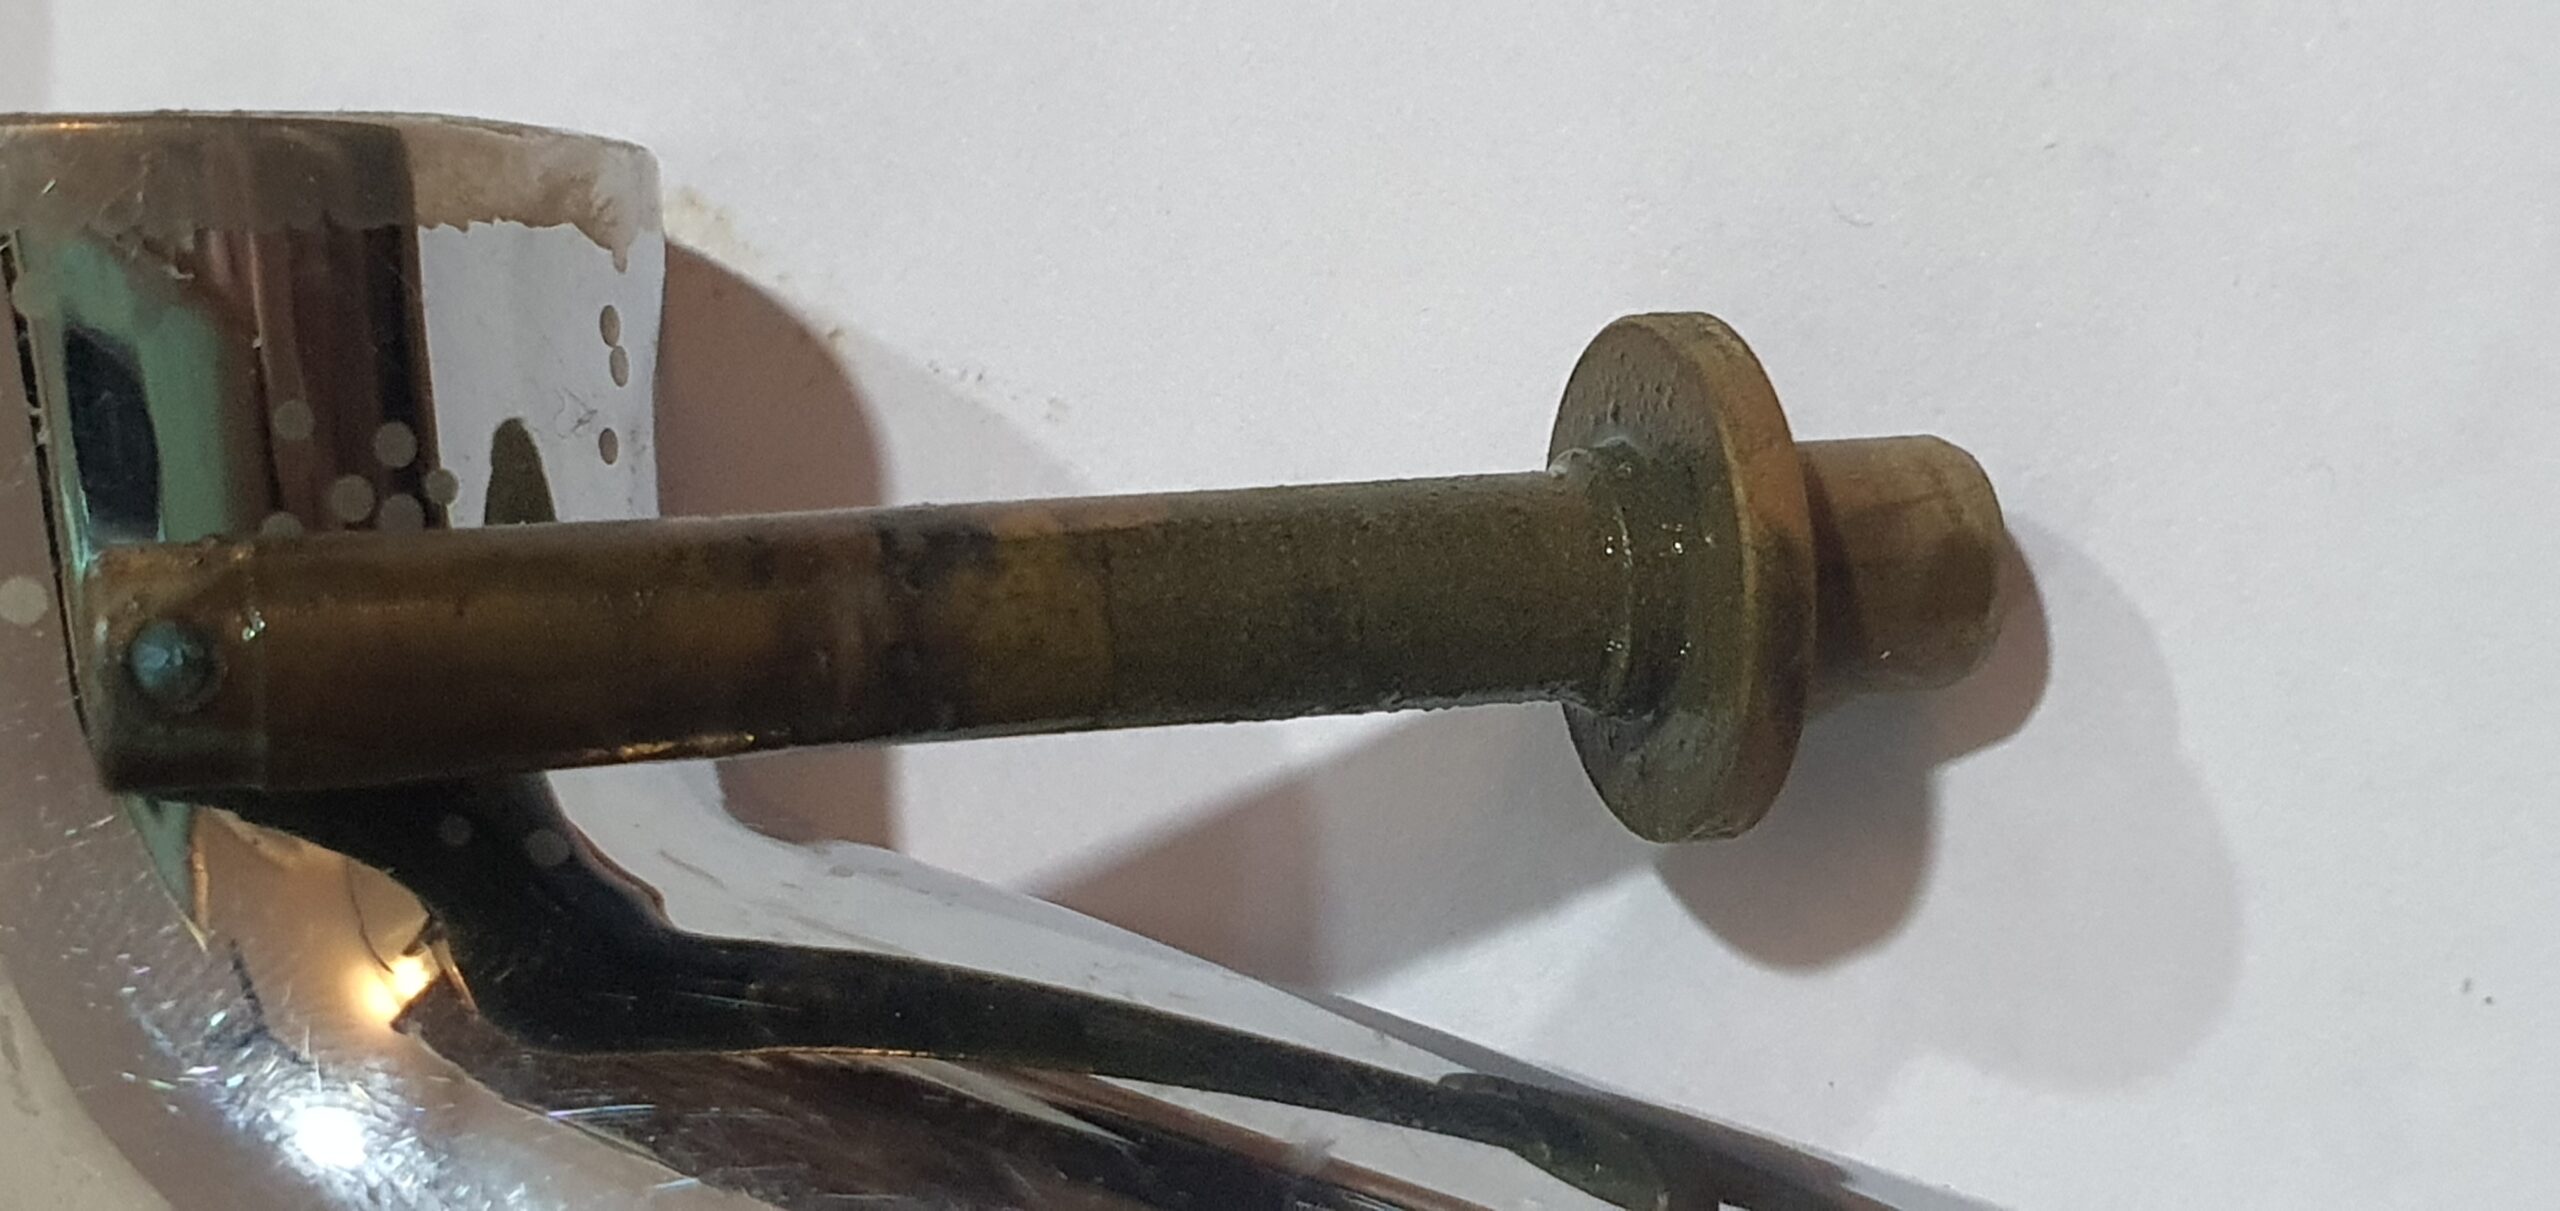
- Now we need to detach the back handle to bring the rod & the spring mechanism out. This is little tricky might need a little care. Need to push the copper rod at the centre (see picture above) back using a cutting plier. This will expose the handle assembly out where you could see that it’s hinged to back with a small pin. Use the safety pin and push the pin out which would release the handle. And you could now also take the rod & the spring mechanism out from the front opening.
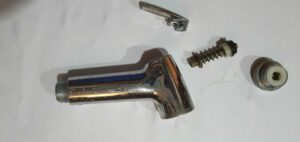
Faucet with handle and rod assembly removed
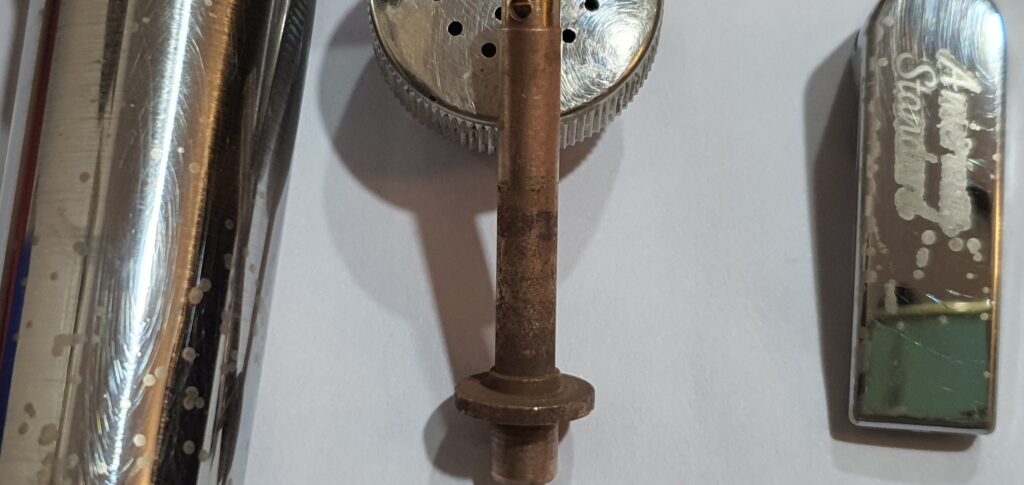
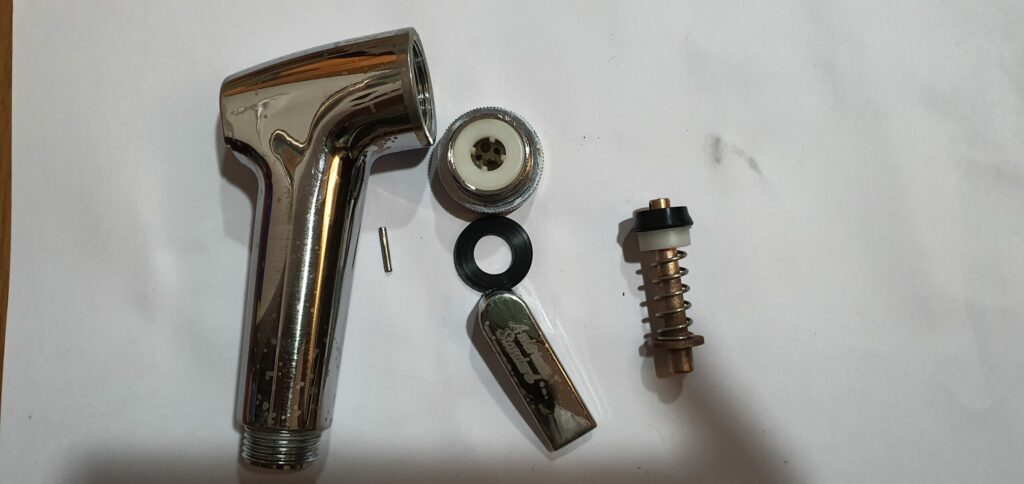
- The spring & rod assembly is the key mechanical part which needs to be serviced and also the front cap which has the small holes for letting the water spray out. The rod depending on the use accumulates lot of limescale & fungus (see the picture below for a closer look) and needs to be cleaned. Furthermore, the washers also need to be checked to ensure that they are not worn out or broken as that would result in leakage either from the front or the back. If they are damaged then you need to replace them else clean all these with vinegar (you might need to leave the rod for a few minutes in vinegar to remove the scale).
Rod with scale & fungus
- My wife used a combination of tamarind with red sand to clean the copper rod which really worked
Cleaned up rod (Thanks to my wife!)
- You could also clean up all the other parts (including the washers, front cap) with vinegar and soak dry

All parts cleaned up using vinegar
- Now start assembling them back one by one
Rod and front cap assembled
- Now the tricky part is to assembly the back handle and it’s going to be fun. I had take help of my son to put the back the pin through the holes of the back handle and the rod. After a bit of multiple tries, I came up with this cool idea of using a coin. If you have a small coin (₹0.25 is preferable because of its small size) then you could put then in the front cap (above the white plastic item) and screw it. This will bring the rod to the backside exposing its hole and you could easily slip in the pin by aligning the holes of the rod with the handle and inserting the pin.
Back handle assembled!
- Now put the front cap back (you could use the hand to rotate it clockwise which should secure it firmly)
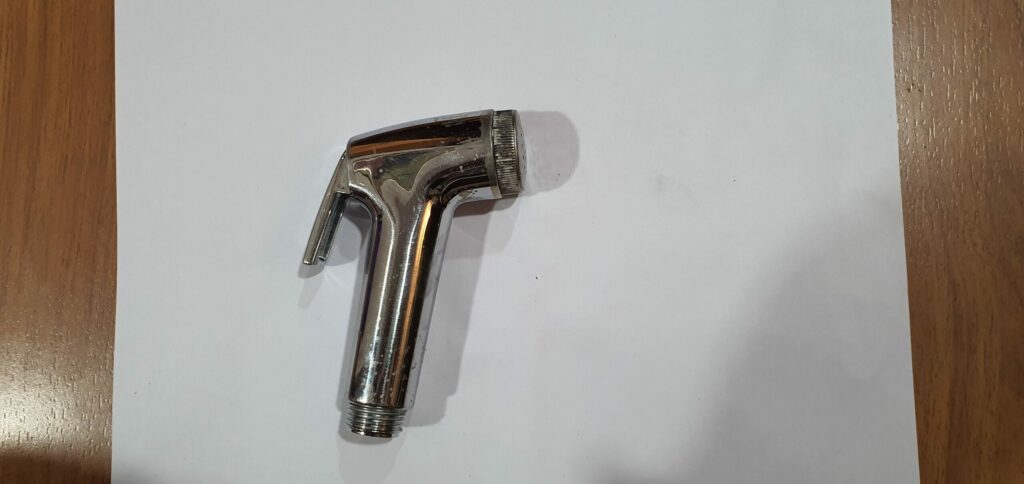
Fully assembled faucet
- It’s now time to fix it back with the hose and give it a try. This should eliminate any issues with regards to spray or leakage and if does give it a thumbs-up to this post. If it doesn’t repeat to see if you have missed any step or if the washers are damaged!
Comments are welcome!
 2
2 2
2Error happened.